| Java[tm] Smart Ticket Sample Application 1.2 > Using the Sample Application |
This document describes how to use the sample application running on the emulator that comes with the J2ME Wireless Toolkit.
When you start the emulator, the emulator asks you to select an application to launch. Make sure SmartTicket is highlighted, and press Launch to begin the application.
A splash screen will appear. Dismiss the splash screen by pressing the Done button.
The following sections describe how to perform various tasks in the sample application.
The first time you start the sample application in the emulator (or on a device), you must set up your user account and preferences before you can browse movie listings and purchase movie tickets.
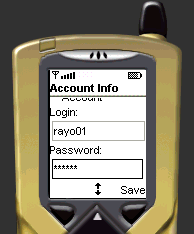
Fill out the Account Info form according to the constraints listed below. The setup screen will show an error alert if any field contains an invalid value. To avoid getting the alerts, note the following constraints:
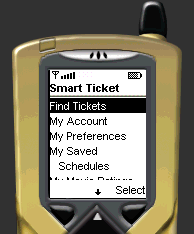
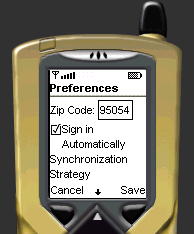
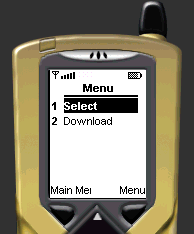
After setting up an account, you will see the main menu. You could start buying tickets at this point, but it would be better to set up your preferences. Use the main menu to select My Preferences to bring up the preferences setup screen.
In the zip code field, type in 95054 or 95130. The sample application data has movie listings for these zip codes only. (If you use other zip codes, you will not find any movie listings.) Save your preferences, and you will be returned to the main menu.
After setting up your account and preferences, you can browse movie listings online. From the main menu, select Find Tickets to start browsing movie listings.
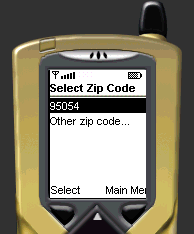
The first screen allows you to select a zip code. Notice that the first one listed is the one you entered in your preferences. You may also enter another zip code if you like. Remember that, as explained in Setting Up Your Account and Preferences, only two zip codes are valid: 95054 and 95130.
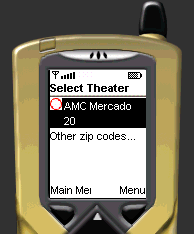
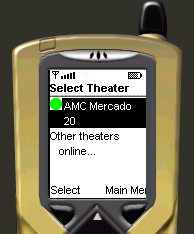
The next screen allows you to select a theater. The hollow circle (which has a red outline on color screens) indicates that you must go online to view these listings. (In the sample application, you can also download movie listings onto your device so you can browse them offline. This capability is discussed in Browsing Movie Listings Offline.)
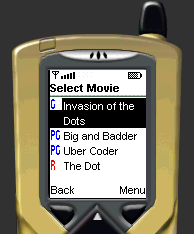
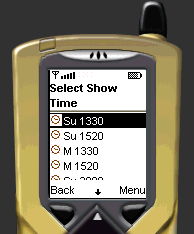
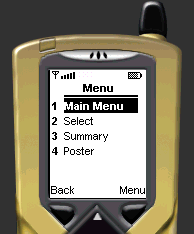
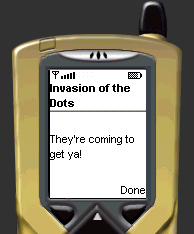
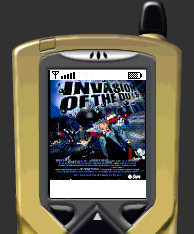
After selecting a theater, you can browse a list of movies playing at that particular theater. Selecting a movie will bring up a list of showtimes. As the following set of screenshots illustrates, you may also look at a movie's summary and poster by pressing Menu on the emulator. Selecting Summary from the menu will show the summary, and selecting Poster will download a poster.
You may download movie listings onto your device to enable browsing them offline. Although there is a cost up-front to download the schedule data, you save on subsequent connections to the server because you access the schedule on the device itself.
When browsing movie listings online and looking at theaters, you may download the schedule for a particular theater, onto your mobile device. When browsing movie schedules offline, it is only when you view the seating plan and buy tickets for a particular show, that you start connecting to the server. You also must go online to look at movie posters, because they are not downloaded with the schedule.
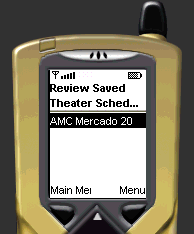
After downloading a schedule, you can review which schedules you have downloaded by selecting My Schedules from the main menu. The screen for reviewing saved theater schedules also allows you to delete saved schedules (select a schedule, press Menu on the emulator, and select Delete). Also note that the next time you select Find Tickets from the main menu, you will be taken directly to the theater schedules you have saved, instead of selecting a zip code. The solid circle icon (green on color screens) beside the theater indicates that it is indeed saved on your device.
After selecting a show time (from browsing movie listings online or offline), you can look at an interactive seating plan for that show, and use it to purchase tickets.
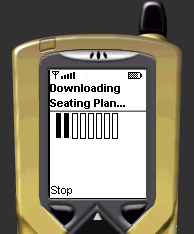
As the seating plan loads, you may notice a progress indicator appear (if you haven't already noticed it earlier). Because the application has to go online to retrieve the seating information, the progress indicator is shown to let the user know what is happening.
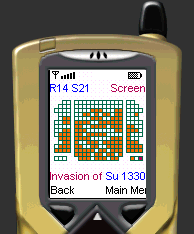
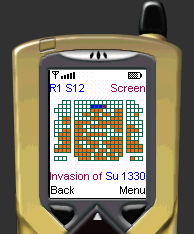
After the seating information is retrieved, it is shown in a custom user interface depicting the seating plan. Available seats are shown as hollow outlined squares, while unavailable seats are shown as solid outlined squares. A cursor flashes (red on a color screen) to indicate your current position on the seating plan.
Use the directional keypad to move the cursor around the seating plan. Use the select button to indicate which seats you want to buy. Pressing the select button will select a seat for you, and pressing the select button a second time on the same seat will deselect it. On a color screen, selected seats are colored blue. You can move the cursor around to select as many seats as you like.
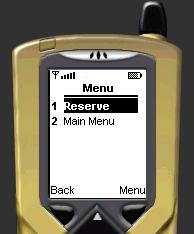
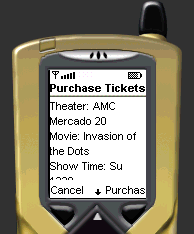
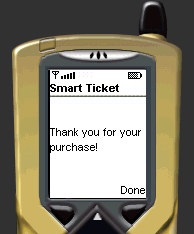
After you have selected at least one seat, a Menu button appears. Selecting the Menu button will bring up a menu as shown in the following set of screenshots. Select Reserve from this menu to reserve the selected seats and show the purchase information screen so that you may confirm the purchase. If you select Cancel, the show times screen will be displayed again. If you select Confirm, a screen thanking you for your purchase will be displayed. The thank you screen can be dismissed by pressing the Done button.
When you purchase tickets for a particular movie, the sample application allow you to assign a rating from 1 to 5 stars. The sample application maintains a list of your movie ratings, which you can access by selecting My Movie Ratings from the main menu.

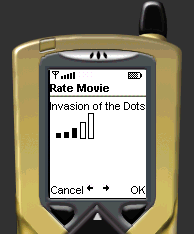
To assign a rating to a movie, highlight the movie in the list and press the phone's select button. An interactive gauge is displayed. Use the left or right direction keys to decrease or increase the movie rating you assign to the movie. The gauge in the screenshot above shows three solid bars, indicating a rating of 3 given to "Invasion of the Dots". (An empty gauge would indicate no rating was given.) Pressing OK will save the rating.
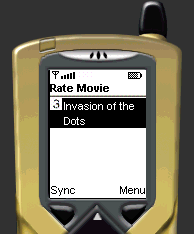
Your movie ratings are saved only on the mobile device--until you choose to synchronize these ratings with a copy on the server. To synchronize the ratings, select Sync from the movie ratings menu. You can view synchronized ratings through a Web browser by using the portal at http://localhost:8080/smartticket/portal/login.jsp. Log in using the user ID and password you used to set your sample application account. Once you are signed in, bring up the movie ratings page to review your ratings.
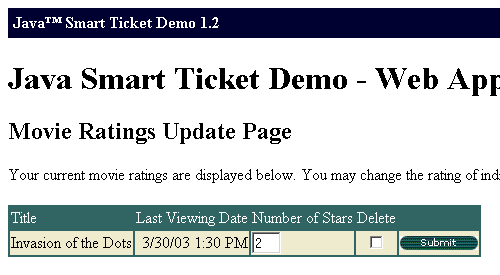
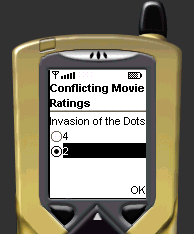
Like the movie ratings menu on the mobile client, the movie ratings Web page also allows you to make modifications to your movie ratings, by updating individual ratings or deleting them. Of course, any modifications you make through the Web client will not be visible until you synchronize. If you modify the same rating through both the Web and the mobile client, you will be asked by default to resolve the conflict (you can set the conflict resolution strategy through the Preferences screen), as shown in the following set of screenshots.